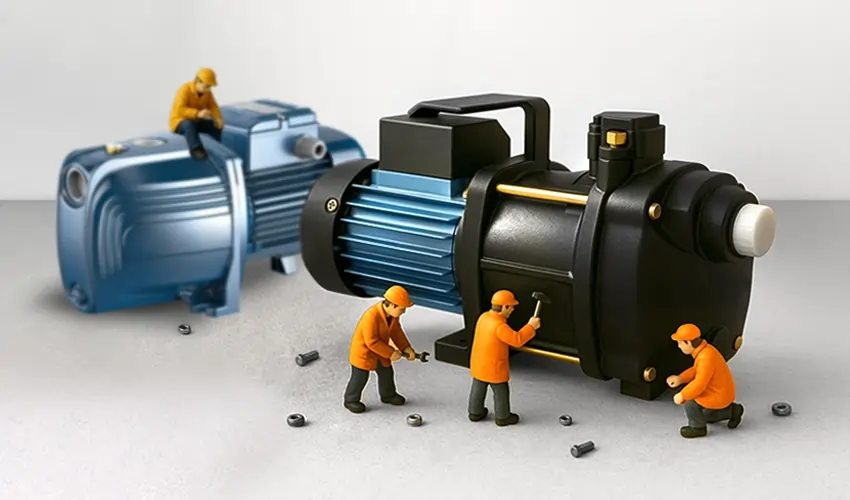
Submersible Pump Installation
Submersible pump installation involves placing a pump underwater to efficiently extract fluids like water from wells or sumps. This process requires careful positioning, electrical connection, and proper securing to ensure optimal performance and safety.
What We Need to Install Submersible Pump
To submersible pump set up, you’ll typically need the following equipment and tools:
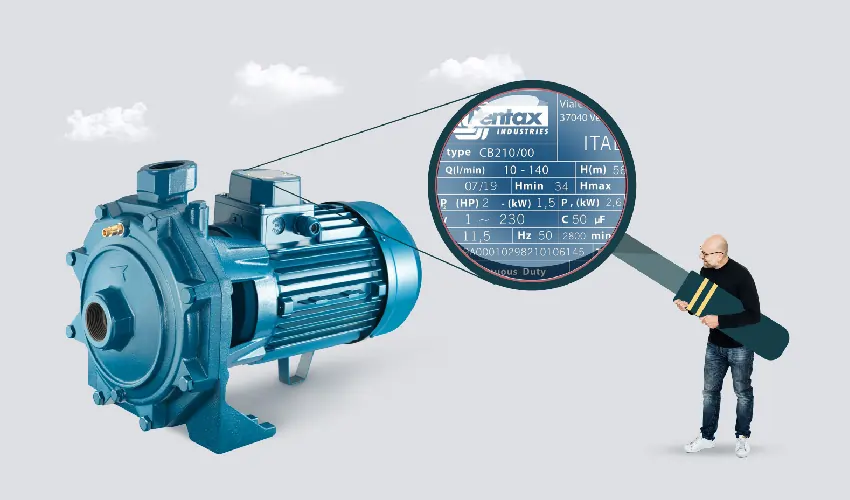
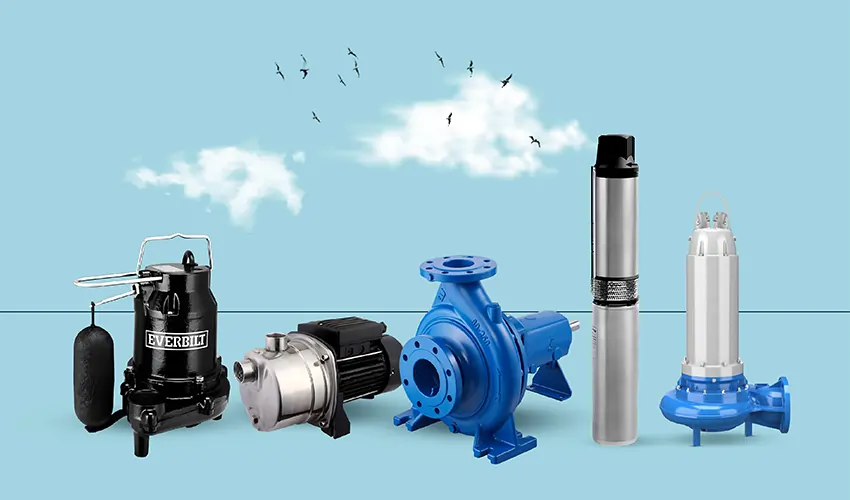
1. Submersible Pump: The pump itself is the primary component. Choose a pump suitable for your intended application, considering factors such as flow rate, head pressure, and the type of liquid being pumped.
2. Piping and Fittings: You’ll need appropriate pipes and fittings to connect the pump to your water source and to the destination where the water will be discharged.
3. Electrical Wiring: Submersible pumps require electrical power to operate. Ensure you have the correct gauge and type of wiring suitable for the pump’s power requirements and local electrical codes.
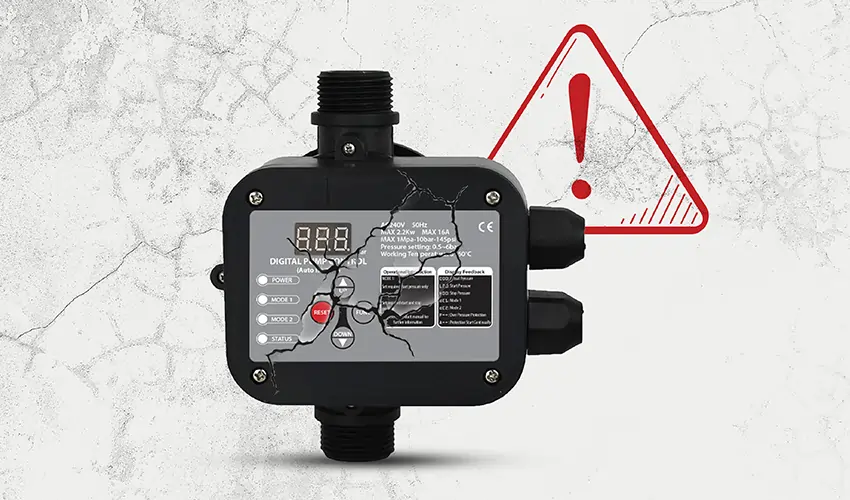
4. Control Box (if applicable): Some submersible pumps require a control box to manage the electrical connections and protect the motor. Check the pump’s specifications to see if a control box is needed.
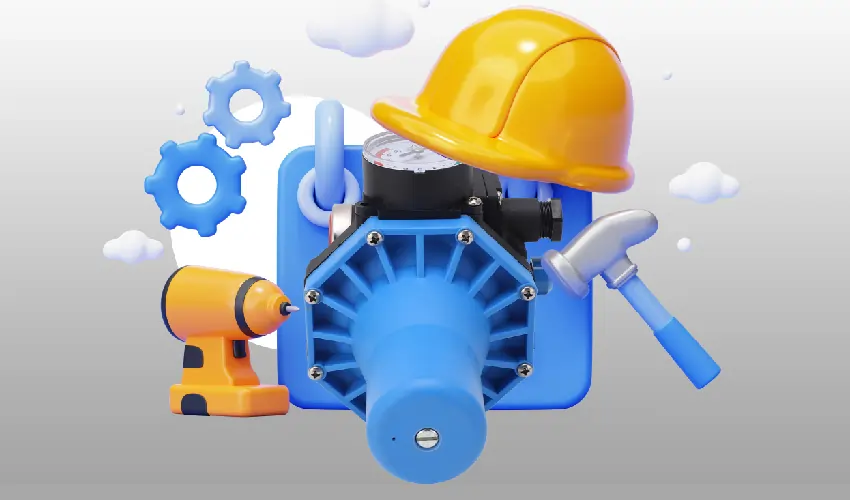
5. Safety Gear: Personal protective equipment such as gloves and safety glasses should be worn during installation to prevent injuries.
6. Sealant and Lubricant: Depending on the specific pump model, you may need sealant for threaded connections and lubricant for seals or gaskets.
7. Tape Measure: To measure and cut pipes to the appropriate lengths.
8. Pipe Wrenches or Adjustable Wrenches: These tools are necessary for tightening pipe fittings securely.
9. Teflon Tape: Used for sealing threaded pipe connections to prevent leaks.
10. Hacksaw or Pipe Cutter: To cut pipes to the required lengths.
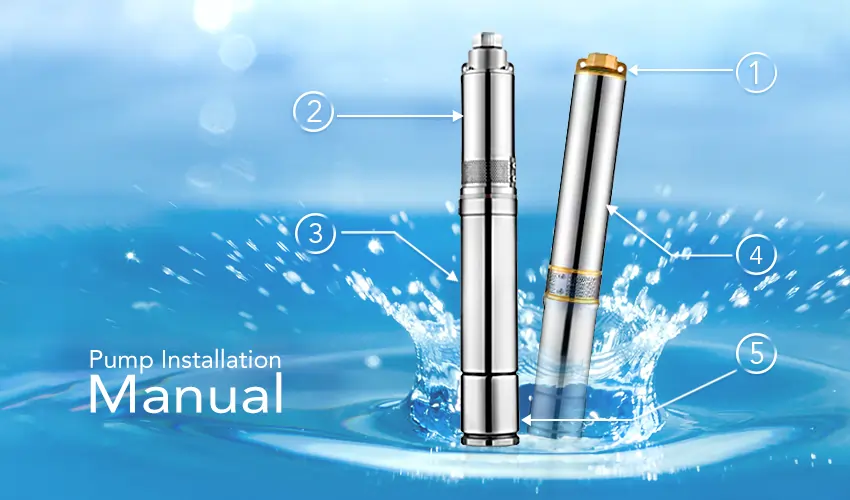
11. Pump Installation Manual: Always refer to the manufacturer’s installation manual for specific instructions and guidelines tailored to your pump model.
12. Support Brackets (if required): Depending on the installation location and pump size, you may need support brackets or straps to secure the pump in place.
13. Sump or Well Casing (if applicable): If installing the pump in a sump or well, ensure the casing is properly installed and sealed to prevent contamination or damage to the pump.
14. Sump Cover (if applicable): If installing a sump pump, a cover may be needed to prevent debris from falling into the sump pit and to ensure safety.
15. Sump Liner (if applicable): In some cases, a liner may be necessary to protect the sump pit and provide a stable base for the pump.
16. Waterproofing Materials (if applicable): Depending on the installation location, you may need materials such as waterproofing sealant or tape to protect electrical connections from moisture.
Steps Involved in Submersible Pump Installation
Installing a submersible pump involves several steps to ensure proper operation and safety. Here’s a general guide how to install submersible pump:
1. Prepare the Installation Site: Choose a suitable location for the submersible pump. It should be submerged in water without risk of exposure to dry conditions. Ensure the area is clean and free of debris to prevent obstructions or damage to the pump.
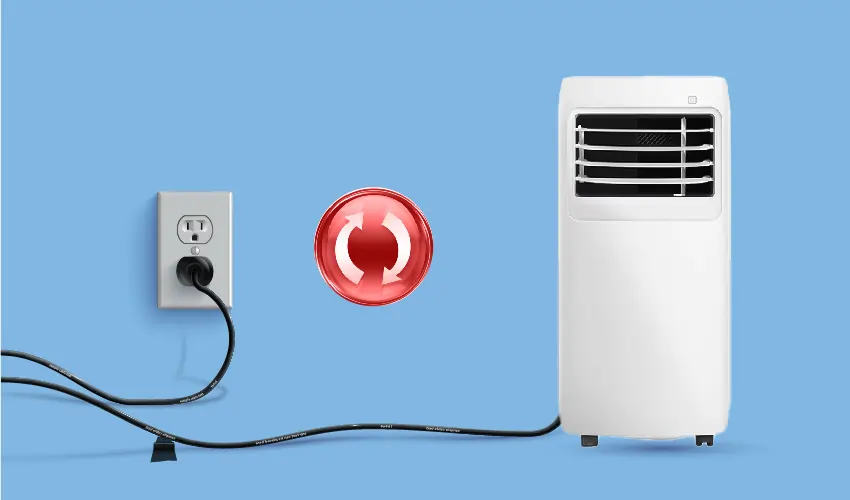
2. Check Electrical Requirements: Confirm that the electrical supply meets the requirements of the submersible pump. This includes voltage, phase, and current rating. Install a suitable power outlet or connection point near the installation site, following local electrical codes and regulations.
3. Prepare the Pump and Piping: Inspect the submersible pump for any damage or defects before installation. Connect the required piping and fittings to the pump according to the manufacturer’s instructions. Use sealant and Teflon tape on threaded connections to prevent leaks.
4. Lower the Pump into Position: Carefully lower the submersible pump into the water source, ensuring it is fully submerged. Use a guide rope or cable to assist in positioning the pump if necessary. Avoid dragging or dropping the pump to prevent damage to the motor and components.
5. Secure the Pump: If required, use support brackets or straps to secure the pump in its operating position. Ensure it is stable and properly aligned to prevent vibration and noise during operation.
6. Connect Electrical Wiring: Follow the manufacturer’s instructions to connect the electrical wiring to the pump motor. Use waterproof connectors and enclosures as necessary to protect electrical connections from moisture. Install a ground fault circuit interrupter (GFCI) if not already present to provide protection against electrical shocks.
7. Install Control Box (if applicable): If the submersible pump requires a control box, mount it in a suitable location according to the manufacturer’s instructions. Connect the control box to the pump and power supply as directed.
8. Test the Pump: Turn on the power supply and test the submersible pump to ensure proper operation. Check for any unusual noises, vibrations, or leaks. Monitor the pump’s performance to verify that it is pumping water effectively and meeting the desired flow rate.
9. Secure and Seal Access Points: Once installation is complete and the pump is operational, secure and seal any access points, such as well casings or sump covers, to prevent debris and contaminants from entering the system.
10. Regular Maintenance and Monitoring: Establish a regular maintenance schedule to inspect and maintain the submersible pump, including checking for debris buildup, monitoring motor performance, and replacing worn components as needed.