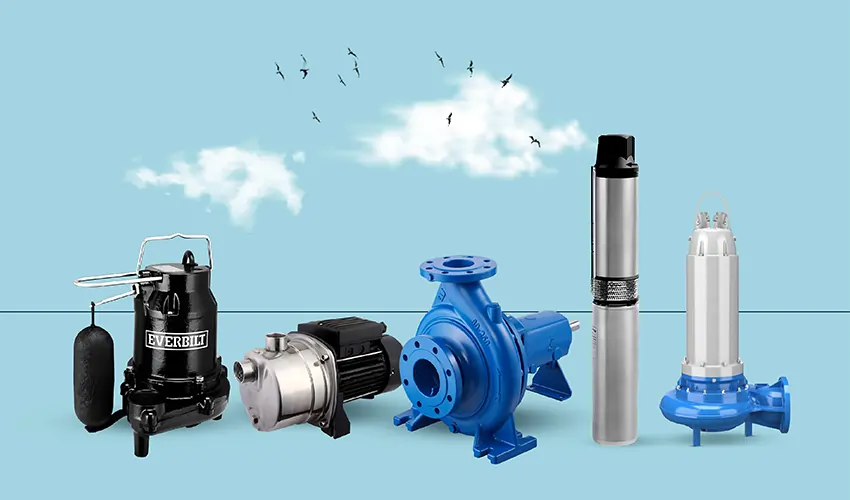
Submersible Pump Troubleshooting
Submersible pump troubleshooting involves identifying and resolving issues that may prevent the pump from operating effectively. It typically includes checking the power supply, inspecting electrical components, verifying submersion, examining pump components, testing the pressure switch and motor, inspecting the water source, and performing functional tests. By systematically addressing potential problems, troubleshooting ensures the pump’s optimal performance and reliability.
What is the Reason for Submersible Pump Not Working?
A submersible pump may fail to work due to various reasons. Here are some common causes:
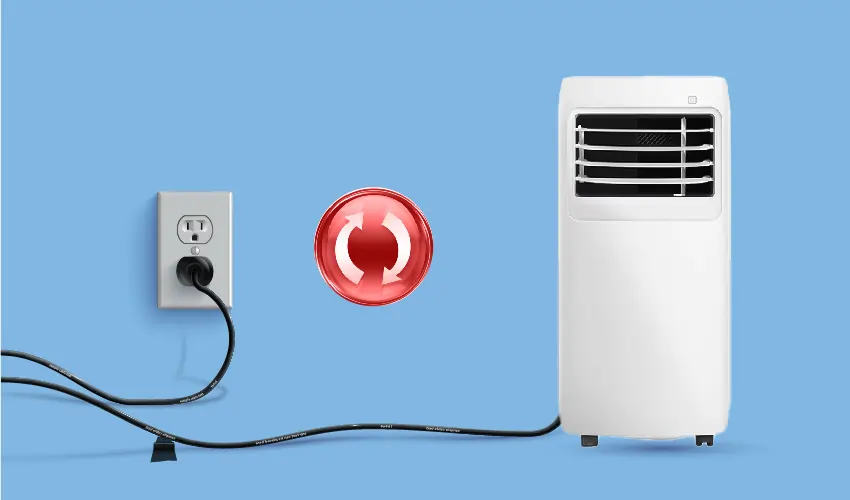
1. Power Supply Issues: Check if the power supply to the pump is functioning correctly. Ensure that the circuit breaker or fuse associated with the pump hasn’t tripped or blown. Verify that the pump is properly connected to the power source.
2. Electrical Problems: Faulty wiring or connections can prevent the pump from receiving power or cause it to short circuit. Inspect the pump’s control box, capacitors, and other electrical components for damage or malfunction.
3. Motor Issues: A burned-out motor can result from prolonged operation under high loads, overheating, or electrical faults. Check the motor windings, bearings, and shaft for signs of damage or wear. Verify that the motor’s thermal overload protection, if present, hasn’t been triggered.
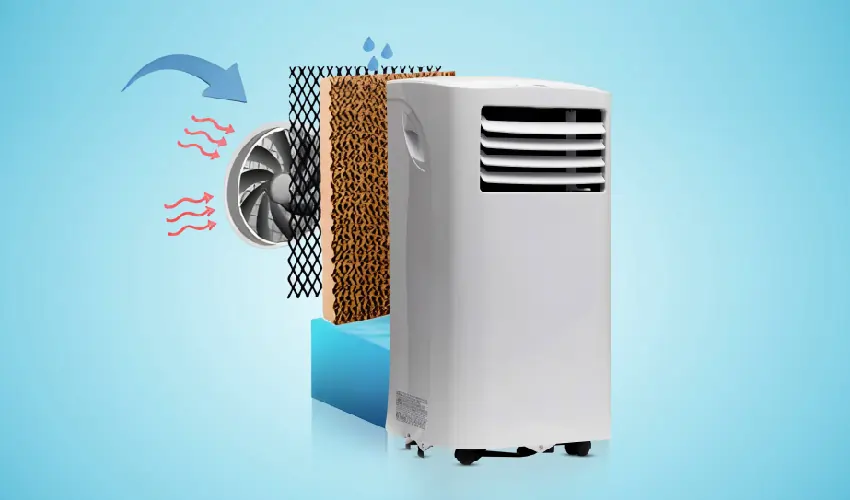
4. Mechanical Failures: Damage to the impeller, casing, or other pump components can hinder its ability to generate suction or deliver water. Inspect the pump for obstructions, debris, or blockages that may impede water flow. Worn-out seals or gaskets can lead to leaks, reducing pump efficiency and performance.
5. Submersion Issues: Submersible pumps must be fully submerged in water during operation. If the water level drops below the pump intake, it may draw in air and lose prime. Verify that the pump is installed at the correct depth and that the water source hasn’t dried up.
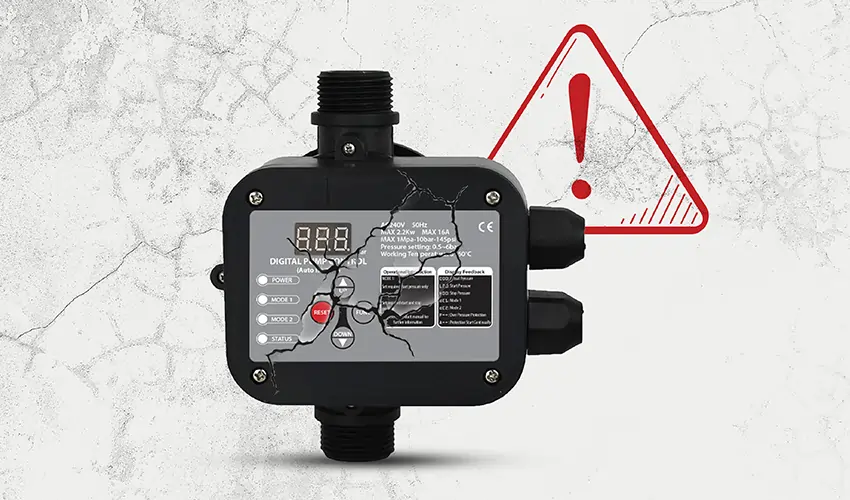
6. Pressure Switch Problems: Malfunctioning pressure switches can prevent the pump from turning on or off at the appropriate pressure levels. Check the pressure switch settings and calibration. Replace the switch if necessary.
7. Water Quality and Contaminants: Corrosion, scale buildup, or sediment accumulation inside the pump can impair its performance over time. Ensure that the water source is clean and free of debris that could damage the pump.
8. Installation Errors: Incorrect installation, such as improper sizing, inadequate support, or incorrect wiring, can lead to pump failure. Verify that the pump is installed according to the manufacturer’s instructions and industry standards.
9. Environmental Factors: Extreme temperatures, exposure to chemicals, or harsh operating conditions can affect the pump’s durability and lifespan. Protect the pump from environmental hazards and ensure it’s suitable for the intended application.
How to Troubleshoot a Submersible Water Pump?
Troubleshooting a submersible water pump involves a systematic approach to identifying and resolving issues. Here’s a step-by-step guide to help you troubleshoot:
1. Check Power Supply: Ensure that the pump is receiving power. Check the electrical outlet, circuit breaker, and fuse associated with the pump. Test the power supply using a multimeter to verify voltage levels. If there’s no power, address the issue with the electrical system before proceeding.
2. Inspect Electrical Components: Examine the pump’s control box, capacitors, and wiring for signs of damage or wear. Tighten any loose connections and replace damaged components as necessary. Test the continuity of electrical circuits using a multimeter to identify any faults.
3. Verify Submersion: Check that the pump is fully submerged in water during operation. Ensure that the water level hasn’t dropped below the pump intake. If the pump is air-locked, submerge it in water completely to release trapped air. Verify that the pump’s depth and placement are appropriate for the water source.
4. Inspect Pump Components: Open the pump housing or access panel to inspect the impeller, casing, and seals for damage or obstruction. Remove any debris, sediment, or obstructions that may be blocking the pump intake or impeller. Check for signs of corrosion, scale buildup, or mechanical wear on pump components.
5. Check Pressure Switch: Examine the pressure switch settings and calibration. Ensure that it’s set to activate the pump at the correct pressure levels. Test the pressure switch using a multimeter to verify its functionality. Replace the pressure switch if it’s faulty or not functioning properly.
6. Verify Motor Operation: Test the motor windings, bearings, and shaft for signs of damage or wear. Verify that the motor’s thermal overload protection, if present, hasn’t been triggered. Test the motor’s continuity and insulation resistance using a multimeter to detect any faults.
7. Inspect Water Source: Ensure that the water source is clean and free of debris, sediment, or contaminants that could damage the pump. Check for leaks in the intake or discharge piping that may be reducing water flow or pressure. Test water quality parameters such as pH, hardness, and contamination levels, if applicable.
8. Perform Functional Tests: Run the pump and observe its performance, including water flow, pressure, and noise levels. Listen for any abnormal sounds such as grinding, rattling, or squealing, which may indicate mechanical issues. Monitor the pump’s operation over time to ensure that the issue has been resolved effectively.
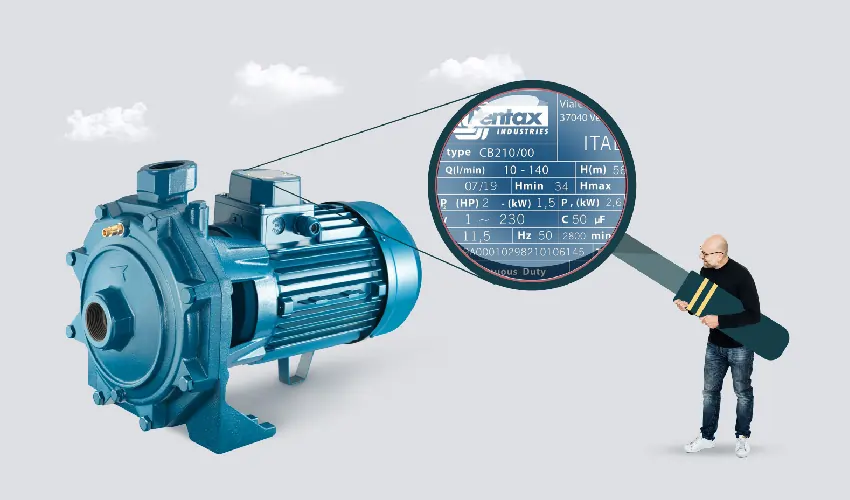
9. Consult Manufacturer Documentation: Refer to the pump’s user manual or manufacturer’s guidelines for specific troubleshooting steps and maintenance recommendations. Contact the manufacturer or a qualified technician for assistance if the issue persists or if you’re unsure about any aspect of the troubleshooting process.