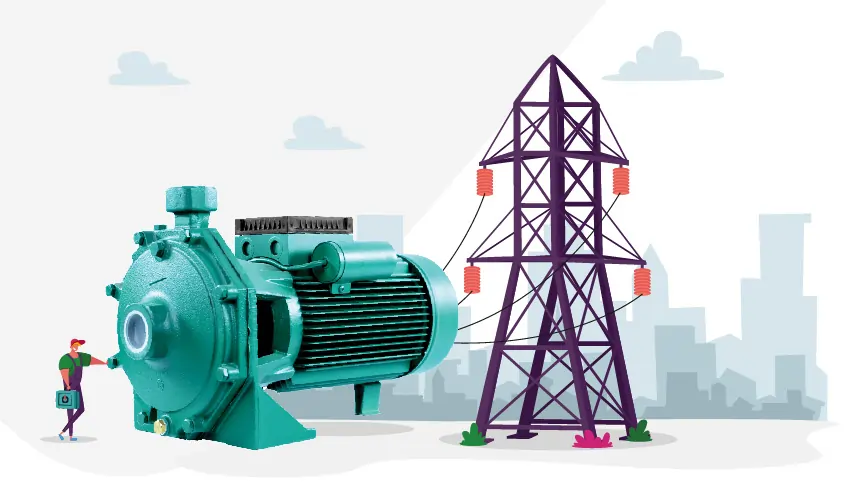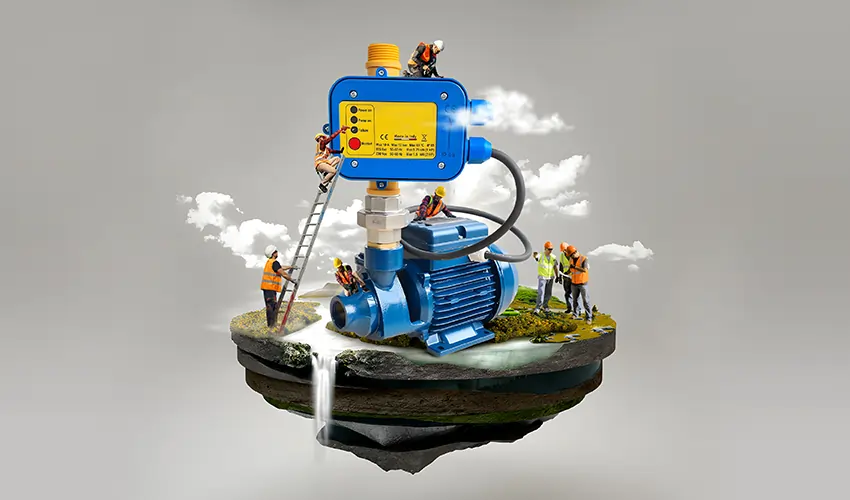
Efficient automatic water pump controller repair demands a methodical approach, emphasizing safety and adherence to manufacturer guidelines. In this article we discuss about automatic water pump controller repair.
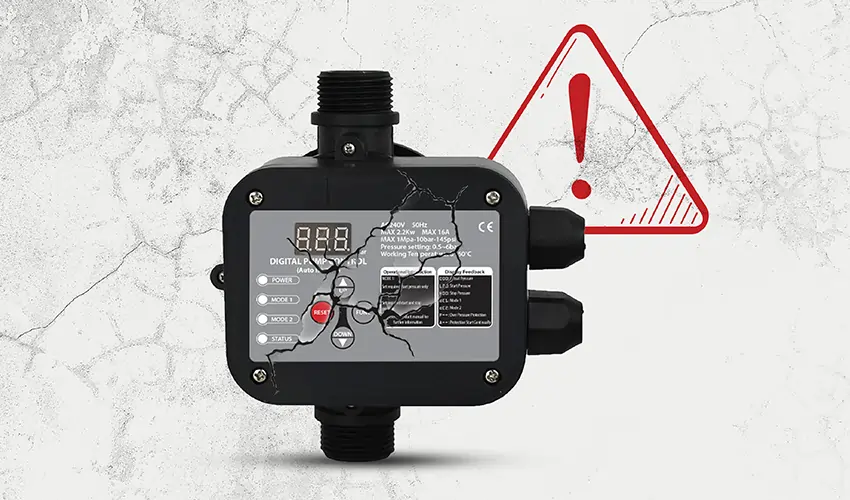
Common Problems with Automatic Water Pump Controllers
Automatic water pump controllers are devices designed to automate the operation of water pumps, ensuring efficient water supply and pressure regulation. However, like any electronic device, they can encounter various problems. Here are some common issues with automatic water pump controllers and possible solutions:
- Power Supply Issues
- Problem: The controller may not be receiving power or may have a faulty power source.
- Solution: Check the power supply to the controller. Ensure that there is a stable power source, and check for any loose connections or damaged wiring.
- Faulty Sensors
- Problem: Sensors, such as pressure or level sensors, can malfunction over time, leading to incorrect readings or failure to trigger the pump.
- Solution: Inspect and test sensors regularly. Replace any faulty sensors, and ensure they are correctly installed and calibrated.
- Pump Failure
- Problem: The water pump itself may be faulty, leading to poor performance or complete failure.
- Solution: Check the pump for any mechanical issues, such as clogs, leaks, or motor malfunctions. Repair or replace the pump as needed.
- Programming Errors
- Problem: Incorrect programming settings or parameters may cause the controller to operate improperly.
- Solution: Review and reprogram the controller settings according to the manufacturer’s guidelines. Ensure that the settings match the requirements of the water supply system.
- Water Leakage
- Problem: A leak in the water supply system can lead to a drop in pressure, causing the controller to activate the pump unnecessarily.
- Solution: Inspect the entire water supply system for leaks and repair them promptly. Ensure that the pressure relief valve is functioning correctly.
- Overheating
- Problem: Continuous operation or high ambient temperatures can cause the controller to overheat.
- Solution: Install the controller in a well-ventilated area and ensure it has proper cooling. If necessary, add external cooling devices. Check for any obstructions around the controller that may hinder airflow.
- Corrosion and Rust
- Problem: Corrosion on the controller’s electrical components can lead to malfunctions.
- Solution: Regularly inspect the controller for signs of corrosion or rust. Clean and protect electrical components as needed.
- Interference
- Problem: Electromagnetic interference from other electronic devices can disrupt the controller’s operation.
- Solution: Install the controller away from sources of electromagnetic interference. Use shielding or filters to minimize interference.
- Faulty Control Board
- Problem: The control board of the pump controller may be faulty.
- Solution: If all else fails, contact the manufacturer or a professional technician to inspect and possibly replace the control board.
Safety Precautions for Repairing Automatic Water Pump Controllers
When repairing automatic water pump controllers, it’s essential to prioritize safety to prevent accidents and injuries. Here are some safety precautions to follow:
- Disconnect Power
- Before starting any repair work, disconnect the power supply to the water pump controller. This may involve turning off the main electrical breaker or isolating the power source to the specific controller.
- Lockout/Tagout
- If applicable, use lockout/tagout procedures to ensure that no one can inadvertently restore power while you are working on the equipment. This is crucial for preventing accidental starts that could lead to injuries.
- Understand the System
- Familiarize yourself with the water pump system and the controller’s components. Review the manufacturer’s documentation and understand the system’s wiring diagram to identify key components and potential hazards.
- Personal Protective Equipment (PPE)
- Wear appropriate personal protective equipment, including safety glasses, insulated gloves, and, if necessary, protective clothing. PPE can help protect you from electrical shocks, chemicals, and other potential hazards.
- Testing Equipment
- Use the right tools and testing equipment for the job. Ensure that your multimeter, voltage tester, or any other diagnostic equipment is in good working condition.
- Grounding
- If working on electrical components, ensure proper grounding procedures. Use insulated tools and stand on dry, non-conductive surfaces to reduce the risk of electrical shocks.
- Isolate Faulty Components
- Identify and isolate any faulty components before starting repairs. This may involve testing and troubleshooting to pinpoint the source of the problem.
- Work in Dry Conditions
- Work in dry conditions to minimize the risk of electrical shocks. Avoid working with electrical components or tools in wet or damp environments.
- Follow Manufacturer’s Instructions
- Adhere to the manufacturer’s repair guidelines and instructions. This includes proper installation procedures, recommended spare parts, and any specific safety precautions provided in the documentation.
- First Aid Kit
- Have a well-equipped first aid kit on hand. Accidents can happen, and having the necessary supplies can help address minor injuries promptly.
- Emergency Procedures
- Know the location of emergency exits, fire extinguishers, and other emergency equipment in the vicinity. Be prepared to respond to unexpected situations quickly and effectively.
- Avoid Working Alone
- Whenever possible, avoid working alone on repairs. If assistance is needed, ensure someone else is present or aware of your activities.
- Check for Residual Voltage
- Even after disconnecting the power, use a voltage tester to check for any residual voltage before touching electrical components. Capacitors or other elements may still store electrical energy.
- Keep Work Area Clean
- Maintain a clean and organized work area to reduce the risk of tripping hazards and facilitate a safer working environment.
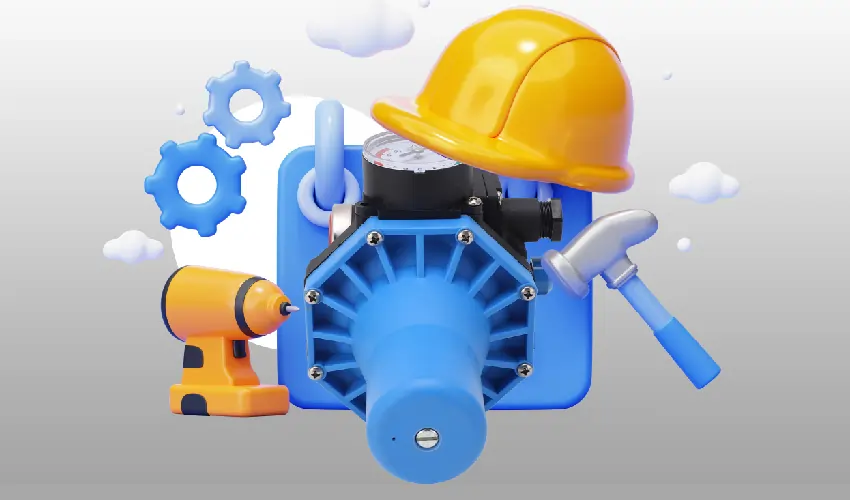
How to Repair an Automatic Water Pump Controller
Automatic water pump controller fix involves a systematic approach to identify and address issues. Here’s a general guide for troubleshooting and repairing common problems:
- Disconnect Power
- Before starting any repairs, disconnect the power supply to the water pump controller to ensure safety.
- Inspect Physical Connections
- Check for loose or disconnected wires. Ensure all electrical connections are secure, including those on the controller, sensors, and pump.
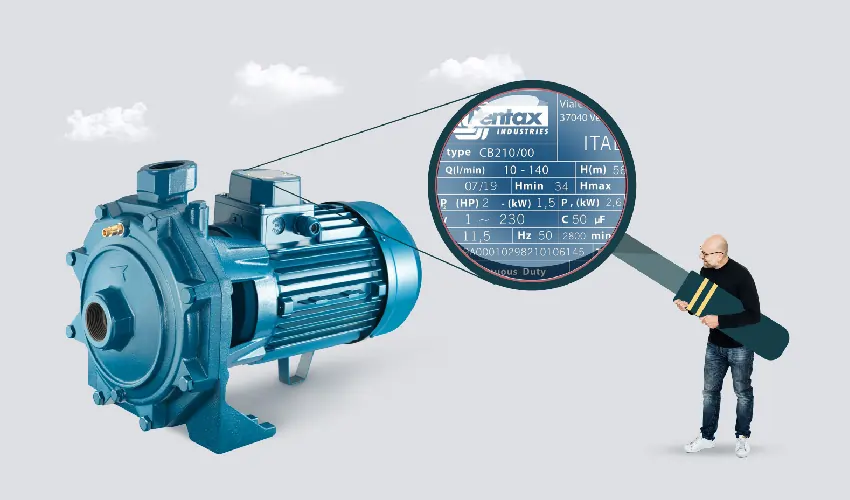
- Review Documentation
- Refer to the manufacturer’s documentation for the controller. Familiarize yourself with the wiring diagram, specifications, and troubleshooting guidelines.
- Check Power Supply
- Verify that the controller is receiving the correct power supply. Use a multimeter to check voltage levels and ensure they match the controller’s specifications.
- Test Sensors
- Check the sensors (e.g., pressure or level sensors) for proper functioning. Test them according to the manufacturer’s instructions. Replace any faulty sensors.
- Inspect Control Board
- Examine the control board for visible signs of damage, such as burnt components, loose solder joints, or corrosion. If identified, repair or replace the damaged components.
- Reset or Reprogram
- If the controller has programmable settings, review and reset them according to the manufacturer’s guidelines. Ensure that the settings are appropriate for the water supply system.
- Test Switches and Buttons
- Check the operation of any switches or buttons on the controller. Clean or replace them if they are not functioning correctly.
- Check for Water Leaks
- Inspect the water supply system for leaks. A drop in pressure due to leaks can trigger the pump unnecessarily. Repair any leaks and ensure the pressure relief valve is functioning correctly.
- Test Pump
- Run a manual test of the water pump to check its operation. Ensure the pump is not clogged and that the impeller and motor are functioning properly.
- Inspect Fuses and Circuit Breakers
- Check and replace any blown fuses or tripped circuit breakers. These components protect the controller from electrical faults.
- Check for Interference
- If the controller is experiencing interference, consider relocating it away from other electronic devices or installing shielding to minimize electromagnetic interference.
- Inspect Enclosure and Ventilation
- Ensure that the controller’s enclosure is intact and properly sealed against environmental factors. Check ventilation to prevent overheating.
- Consult Manufacturer or Professional Help
- If the issue persists or if you’re uncertain about the repair process, contact the manufacturer for technical support. Alternatively, seek assistance from a qualified technician.
- Document Changes
- If you make any adjustments or repairs, document the changes made, including settings and replacement parts. This information can be valuable for future troubleshooting.
Conclusion
In conclusion, automatic water pump controller repair involves a systematic approach, prioritizing safety, and adhering to manufacturer guidelines. Key steps include disconnecting power, inspecting physical connections, testing sensors, reviewing documentation, and checking for common issues such as power supply problems, sensor malfunctions, and pump issues.