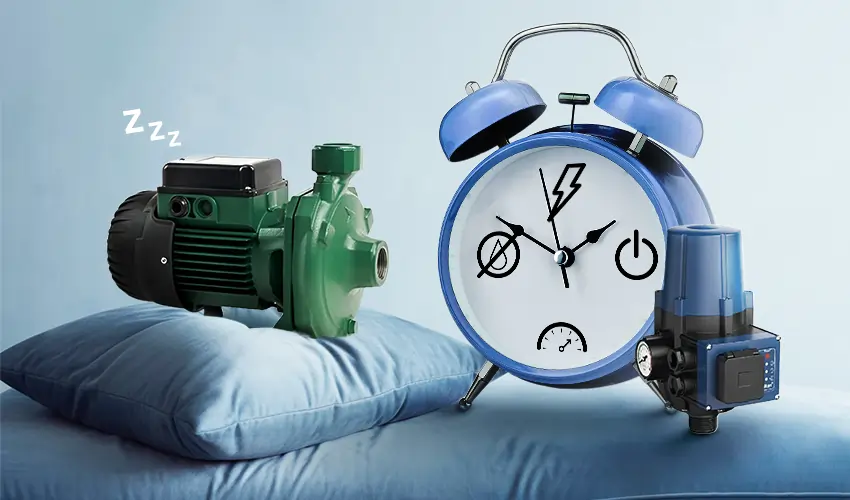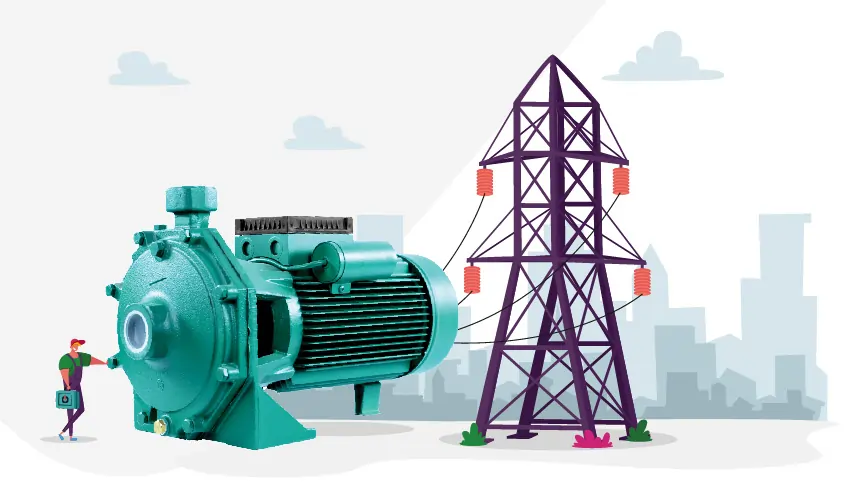
Automatic pump controllers can be adjusted to maintain a desired water pressure, which can improve the efficiency and lifespan of the pump and water system.
Types of Automatic Pump Controllers
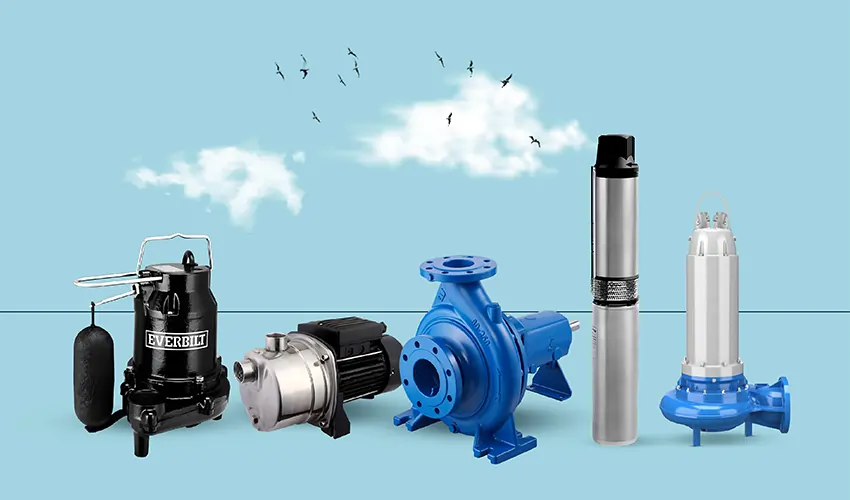
There are several types of automatic pump controllers available, each with its own set of features and applications. Here are some of the most common types:
- Pressure switch controllers
- Pre-set pressure switch controllers: These controllers have a fixed cut-in and cut-out pressure setting. They are the most basic type of controller and are suitable for simple applications where constant pressure is not required.
- Adjustable pressure switch controllers: These controllers allow the cut-in and cut-out pressure settings to be adjusted. This gives more control over the pressure of the water supply.
- Electronic pressure controllers
- Digital electronic pressure controllers: These controllers have digital displays for the cut-in and cut-out pressure settings, as well as other features such as a water flow meter and a display of the current pressure. They are more precise than pre-set pressure switch controllers and can also be programmed to start and stop the pump at specific times of day.
- Analog electronic pressure controllers: These controllers have analog gauges for the cut-in and cut-out pressure settings, as well as other features such as a water flow meter and a display of the current pressure. They are less precise than digital electronic pressure controllers, but they are also less expensive.
- Lead-lag controllers
- Lead-lag controllers: These controllers are used to control the speed of a pump, rather than just its on/off state. They are used in applications where it is important to maintain a constant flow rate, such as in irrigation systems.
- Proportional integral derivative (PID) controllers: These controllers are the most sophisticated type of pump controller. They use a feedback loop to control the speed of the pump, and they can be used to achieve very precise control.
- DC pump controllers
- DC pump controllers: These controllers are used to control DC pumps, which are typically used in low-power applications. They are typically simpler than AC pump controllers.
PLC pump controllers - Programmable logic controllers (PLCs): These controllers are used to control complex pump systems. They can be programmed to perform a wide variety of tasks, such as starting and stopping the pump, monitoring the pressure and flow rate of the water, and communicating with other devices.
- DC pump controllers: These controllers are used to control DC pumps, which are typically used in low-power applications. They are typically simpler than AC pump controllers.
Importance of Adjusting Automatic Pump Controllers
Adjusting water pump pressure control switch is crucial for ensuring optimal water pressure, efficient pump operation, and prolonged pump lifespan. Here are some key reasons why adjusting automatic pump controllers is essential:
- Maintaining Consistent Water Pressure: Automatic pump controllers are designed to maintain a steady water pressure within a specified range, preventing fluctuations and ensuring a reliable water supply for household appliances and irrigation systems. Properly adjusted controllers minimize pressure spikes and sags, offering a consistent flow of water.
- Optimizing Pump Efficiency: Adjusting the cut-in and cut-out pressure settings of the controller ensures that the pump operates efficiently, minimizing the time it spends cycling on and off. This translates to conserving energy and reducing electricity bills.
- Prolonging Pump Lifespan: Excessive cycling and prolonged operation under high pressure can strain the pump motor and components, leading to premature wear and tear. Accurately adjusted controllers prevent unnecessary pump activation and protect the motor from excessive strain, extending the pump’s service life.
- Achieving Optimal Flow Rates: In applications like irrigation systems, precise adjustment of the controller enables the pump to deliver water at the desired flow rate, ensuring efficient water distribution and preventing excessive water usage.
- Addressing Specific Water Requirements: Different applications may require varying water pressure levels. Adjusting the controller allows for customizing the water pressure to suit specific needs, from providing a strong pressure for household use to maintaining a gentle pressure for delicate appliances or irrigation systems.
- Preventing Wastewater Flow: By maintaining a consistent water pressure, excessive leakage or wastewater flow from faucets or sprinklers is minimized, conserving water and reducing water bills.
- Enhancing User Satisfaction: Consistent water pressure and efficient pump operation translate to a more pleasant user experience, allowing users to enjoy uninterrupted water flow and reliable water pressure for their home appliances and irrigation needs.
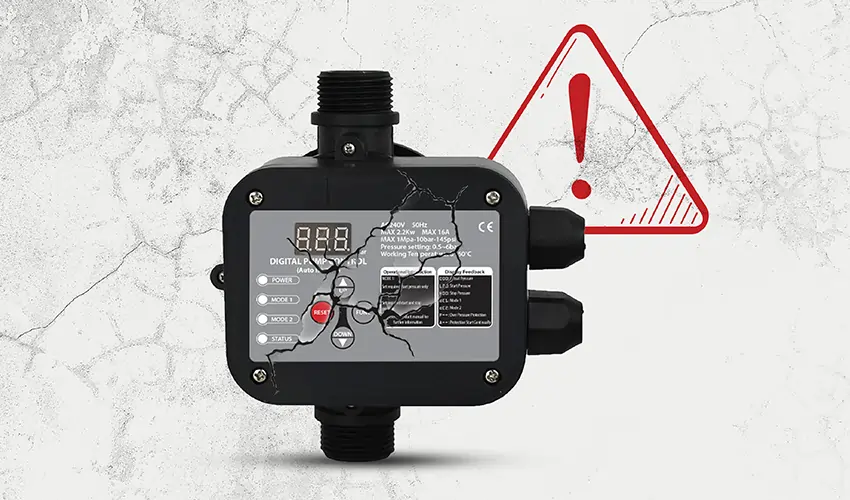
Safety Precautions for Adjusting Automatic Pump Controllers
Adjusting automatic pump controllers is a relatively straightforward task, but it’s important to prioritize safety to prevent electrical hazards and potential injuries. Here are essential safety precautions to follow when adjusting automatic pump controllers:
- Power Disconnect: Before accessing or adjusting the controller, always ensure the pump is turned off and unplugged from the power source. This eliminates the risk of electrical shock, especially when working with electrical components or near water pipes.
- PPE Gear: Always wear appropriate personal protective equipment (PPE) to minimize safety risks. This includes gloves to protect your hands from sharp edges or electrical components, safety glasses to shield your eyes from debris or accidental splashes, and non-slip footwear to maintain stability on wet or slippery surfaces.
- Thorough Inspection: Before proceeding, thoroughly inspect the pump and surrounding area for any potential hazards, such as loose connections, damaged wires, or exposed electrical components. If any issues are identified, address them before proceeding with adjustments.
- Work in a Well-Lit Area: Ensure the work area is adequately lit to clearly see the controller’s components and connections. Poor lighting can make it difficult to identify potential hazards or perform delicate adjustments precisely.
- Level Ground: Elevate the controller to a level surface to avoid accidental tipping or damage. This ensures the controller is stable while you work and prevents injuries from potential falls.
- Clean Work Area: Keep the work area clean and free from debris or loose objects. This prevents any items from falling into the pump or interfering with your work.
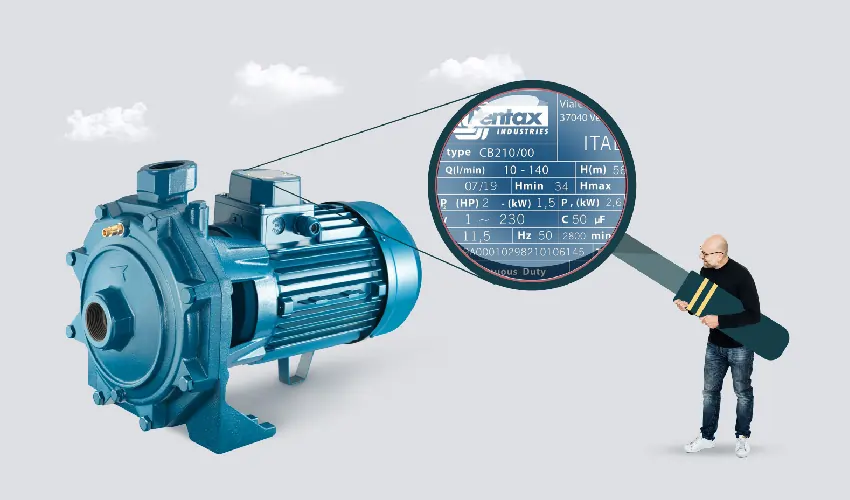
- Follow Manufacturer’s Instructions: Always refer to the manufacturer’s instructions for specific instructions and recommended adjustments for your particular pump and controller model. This ensures you make the correct adjustments without compromising the pump’s performance or safety.
- Seek Professional Assistance: If you lack the expertise or experience in adjusting automatic pump controllers, consider seeking assistance from a qualified electrician or pump technician. They can provide guidance and expertise to ensure the adjustments are done safely and correctly.
- Test and Monitor: Once adjustments are made, turn on the pump and monitor the water pressure readings. If the pressure is not within the desired range, repeat the adjustment process carefully until the desired pressure is achieved.
- Document Changes: Keep a record of the cut-in and cut-out pressure settings you’ve adjusted for future reference or maintenance purposes. This ensures consistency and facilitates troubleshooting if any issues arise.
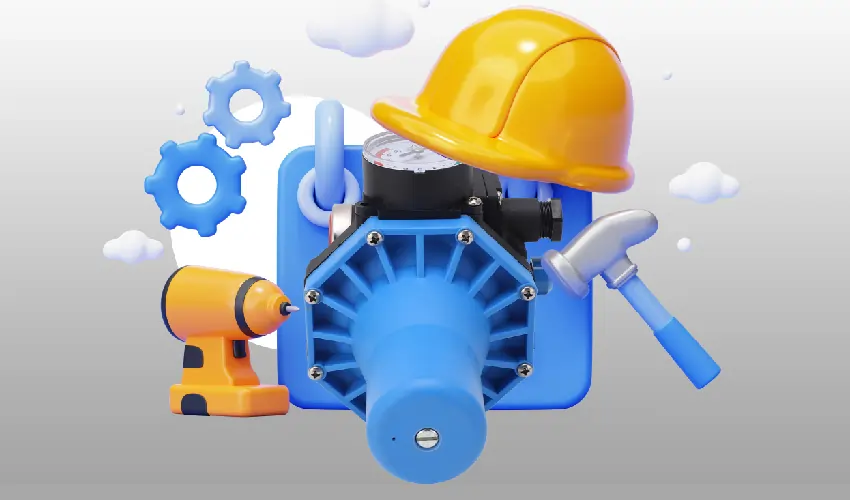
How to adjust automatic pump control
Adjusting automatic pump controllers is a crucial task for maintaining optimal water pressure, efficient pump operation, and prolonged pump lifespan. Here’s a step-by-step guide on how to adjust automatic pump controllers:
Safety Precautions
Before proceeding, ensure you have completed the following safety precautions:
- Power Disconnect: Turn off the pump at the circuit breaker or switchboard and ensure it is unplugged from the power source.
- Personal Protective Equipment (PPE): Wear appropriate PPE gear, including gloves, safety glasses, and non-slip footwear.
- Thorough Inspection: Check for any loose connections, damaged wires, or exposed electrical components. Address any issues before proceeding.
- Well-Lit Area: Work in a well-lit area to clearly see the controller’s components and connections.
- Level Ground: Elevate the controller to a level surface to prevent tipping or damage.
- Clean Work Area: Keep the work area clean and free from debris.
Adjusting the Cut-In Pressure
- Locate the Cut-In Pressure Adjustment Screw: The cut-in pressure adjustment screw is typically located on the side of the controller.
- Turn the Screw Carefully: Use a screwdriver to turn the screw counterclockwise to lower the cut-in pressure or clockwise to raise it.
- Monitor the Pressure Gauge: Observe the pressure gauge as you turn the screw. The cut-in pressure is the pressure at which the pump starts to cycle on.
- Adjust the Screw until the Desired Pressure is Reached: The desired cut-in pressure is typically between 20 and 35 PSI.
Adjusting the Cut-Out Pressure
- Locate the Cut-Out Pressure Adjustment Screw: The cut-out pressure adjustment screw is usually located near the cut-in pressure screw.
- Turn the Screw Carefully: Use a screwdriver to turn the screw counterclockwise to lower the cut-out pressure or clockwise to raise it.
- Monitor the Pressure Gauge: Observe the pressure gauge as you turn the screw. The cut-out pressure is the pressure at which the pump stops cycling and shuts off.
- Adjust the Screw until the Desired Pressure is Reached: The desired cut-out pressure is typically between 40 and 60 PSI.
Testing and Adjusting
- Turn on the Pump: Once you have adjusted the cut-in and cut-out pressures, turn on the pump at the circuit breaker or switchboard.
- Monitor the Pressure Gauge: Observe the pressure gauge as you run the faucets or sprinklers. The pump should start and stop as needed to maintain the desired pressure within the specified range.
- Make Fine Adjustments: If the pressure is not within the desired range, repeat the adjustment process carefully until the desired pressure is achieved.
Documenting Changes
- Record the Cut-In and Cut-Out Pressure Settings: Keep a record of the cut-in and cut-out pressure settings you’ve adjusted for future reference or maintenance purposes.
- Label the Controller: Label the controller with the updated cut-in and cut-out pressure settings to ensure consistent adjustments in the future.
Conclusion
In conclusion, adjusting automatic pump controllers is an essential maintenance task that not only optimizes water pressure and pump efficiency but also prolongs pump lifespan, prevents water waste, and enhances user satisfaction. By taking the time to properly adjust the controller settings, homeowners and water system operators can reap substantial benefits in terms of energy savings, pump health, and overall water management.