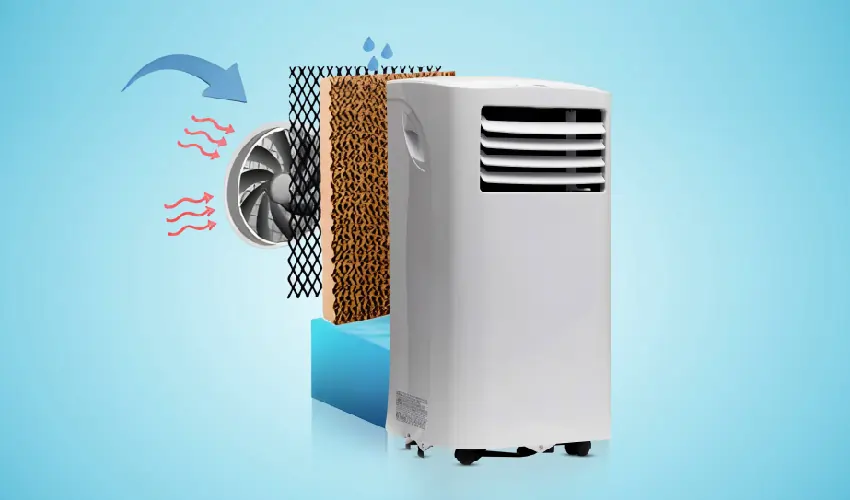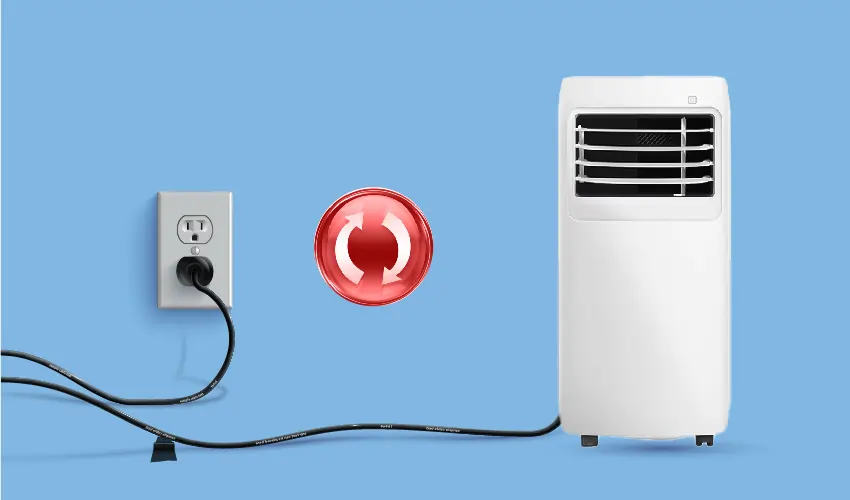
Cleaning Portable Air Conditioner
Maintaining a clean portable air conditioner is essential for ensuring it operates efficiently and effectively throughout its lifespan. This guide will introduce you the simple steps for cleaning a portable air conditioner.
How Do We Know We need to Clean Portable Air Conditioner?
Portable air conditioners, like any other air conditioning units, require regular cleaning and maintenance to ensure optimal performance and prevent issues.
Here are some indicators that suggest it’s time to clean your portable air conditioner:
- Reduced cooling efficiency: If you notice that your portable air conditioner is not cooling the room as effectively as it used to, it may be an indication that the unit needs cleaning. Dust, dirt, and debris can accumulate on the air filters and coils, hindering the unit’s ability to cool the air efficiently.
- Weak airflow: If you perceive a decrease in the airflow coming from the air conditioner, it could be due to a clogged air filter or a dirty evaporator coil. These components can become obstructed by dust and debris over time, impeding the airflow.
- Unpleasant odor or musty smell: A dirty portable air conditioner can produce a foul smell when it operates. The accumulation of dirt and moisture within the unit can lead to the growth of mold and mildew, resulting in unpleasant odors. If you notice any unusual smells, it’s a sign that your air conditioner requires cleaning.
- Excessive noise: When debris builds up on the fan blades or inside the unit, it can cause the air conditioner to make more noise than usual. Unusual or excessive noise could indicate the presence of dirt or other obstructions that need to be cleaned.
- Visible dust or dirt: If you can see dust or dirt particles on the air filters or inside the unit, it’s a clear indication that cleaning is necessary. Regularly inspecting the air filters and visible components of the air conditioner can help you identify when cleaning is needed.
- Maintenance schedule: It’s generally recommended to clean the air filters and other accessible parts of your portable air conditioner every two weeks or monthly, depending on usage and environmental conditions. Following a maintenance schedule will ensure that your unit stays clean and functions optimally.
Benefits of cleaning Portable Air Conditioner
Cleaning your portable air conditioner regularly offers several benefits:
- Improved cooling efficiency: When the air filters and coils of your portable air conditioner are clean, air can flow freely through the unit. This allows the air conditioner to cool the room more effectively and efficiently. A clean unit can maintain the desired temperature without straining the system, reducing energy consumption and lowering your electricity bills.
- Enhanced air quality: Portable air conditioners with dirty filters and coils can circulate dust, allergens, and other airborne particles in your living space. Regular cleaning helps remove these contaminants, improving the air quality and creating a healthier environment, especially for those suffering from allergies or respiratory conditions.
- Preventive maintenance: Cleaning your portable air conditioner is a form of preventive maintenance. By removing dust, dirt, and debris, you can prevent the accumulation of these substances, which can cause clogs and reduce the lifespan of your unit. Regular cleaning helps prevent breakdowns and costly repairs, ensuring your air conditioner operates smoothly.
- Odor elimination: Moisture and dirt can lead to the growth of mold and mildew inside the portable air conditioner. These microorganisms can produce unpleasant odors that are released into the air when the unit operates. Cleaning the unit regularly helps eliminate these odors, ensuring that the circulated air is fresh and odor-free.
- Quieter operation: Dust and debris can cause the fan blades and other components of the portable air conditioner to become unbalanced or obstructed. This can result in increased noise during operation. Cleaning the unit helps remove these obstructions and promotes quieter and smoother operation.
- Extended lifespan: Regular maintenance and cleaning can significantly extend the lifespan of your portable air conditioner. By keeping the unit clean and free from debris, you reduce the strain on its components and ensure that it operates optimally. This can save you money in the long run by delaying the need for a replacement.
How to Clean Portable AC?
Deep cleaning a portable air conditioner is essential to maintain its efficiency and prolong its lifespan.
Here’s a step-by-step guide on how to clean a portable AC: Turn Off and Unplug the Unit Ensure the portable AC is turned off and unplugged from the power source before cleaning.
- Clean the Exterior: Wipe down the exterior of the unit with a damp cloth and mild detergent. Avoid using abrasive cleaners or solvents that might damage the surface.
- Remove and Clean the Filters: Locate the air filters. These are usually accessible from the back or side panel. Remove the filters from the unit. Wash the filters with warm water and mild detergent, then rinse thoroughly.
- Let the filters air dry completely before reinstalling them. If the filters are damaged or very dirty, consider replacing them. Clean the Evaporator and Condenser Coils Use a vacuum cleaner with a brush attachment to gently clean the coils. For stubborn dirt, you can use a fin comb to straighten any bent fins and remove debris. Compressed air can also be used to blow out dust and dirt from the coils. Check the Drainage Inspect the drainage system of your portable AC. Ensure the drain hose is clear and free of obstructions.
- Empty the water collection container if your unit has one, and clean it with mild detergent and water. Clean the Exhaust Hose Disconnect the exhaust hose and check for any blockages or dust buildup. Use a vacuum or a damp cloth to clean inside the hose. Reconnect the hose securely once it is clean and dry. Reassemble and Test Reinstall the clean and dry filters. Reassemble any panels or covers that were removed.
- Plug the unit back in and turn it on to ensure it is working properly.
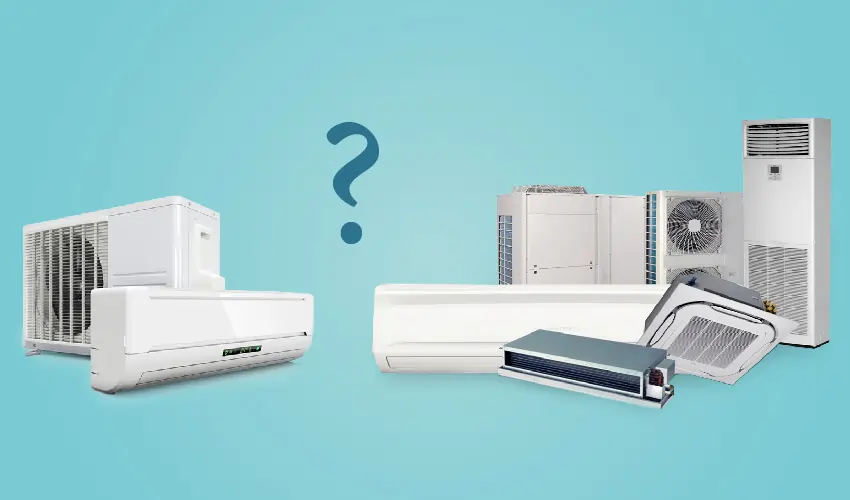
How to Clean Exterior Unit?
Cleaning the exterior air conditioning (AC) unit, also known as the condenser unit, is essential for maintaining its efficiency and extending its lifespan.
Here’s a detailed guide on how to clean your exterior AC unit:
- Turn Off the Power: Ensure the AC unit is turned off at the thermostat. Turn off the power to the unit at the breaker box to ensure safety.
- Clear Debris: Remove any leaves, grass, and debris around the unit. Trim any plants or shrubs at least 2 feet away from the unit to ensure proper airflow.
- Remove the Cover: Use a screwdriver or wrench to remove the screws or bolts holding the top or side cover of the unit. Carefully lift the cover off. You might need help if it’s heavy or awkward. Clean the Fins: Use a soft brush to gently clean the fins. Be careful not to bend them. If the fins are bent, you can use a fin comb to straighten them. This helps Maintain Proper Airflow.
- Spray the Fins: Use a garden hose with a spray nozzle to gently rinse the fins from the inside out to remove dirt and debris. Avoid using a high-pressure setting, which can damage the fins. Spray at a 45-degree angle to avoid bending the fins.
- Apply Coil Cleaner (Optional): If the fins are very dirty, you can use a coil cleaner. Follow the manufacturer’s instructions on the product. Let the cleaner sit for the recommended amount of time, usually 10-15 minutes.
- Rinse the Unit: Thoroughly rinse the coil cleaner off the fins with the garden hose. Clean Around the Unit: Ensure the area around the unit is free of debris and vegetation to allow for proper airflow.
- Replace the Cover: Carefully replace the cover and screw or bolt it back into place.
- Turn On the Power: Restore power at the breaker box. Turn the thermostat back on and set it to cool.
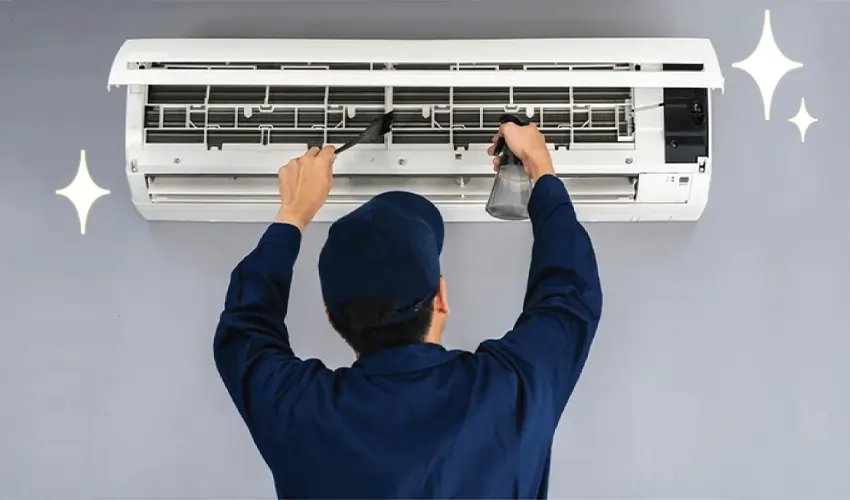
How to Clean Internal Section AC unit?
Cleaning the internal section of an AC unit (also known as the evaporator or indoor unit) is crucial for maintaining good air quality and ensuring the efficient operation of your air conditioning system.
Here’s a step-by-step guide to help you clean the internal section of your AC unit:
1. Turn Off the Power
Turn off the power to the AC unit from the main electrical panel to ensure safety. Open the Unit Remove the front panel or cover of the indoor unit. This usually involves unscrewing or unclipping the panel.
2. Clean or Replace the Air Filter
Locate the air filter and remove it. If it’s washable, rinse it with warm water and a mild detergent. Let it dry completely before reinserting. If the filter is not washable or is heavily soiled, replace it with a new one.
3. Clean the Evaporator Coils
Use a soft brush to gently remove dust and debris from the evaporator coils. For deeper cleaning, spray the coils with a coil cleaner, following the manufacturer’s instructions. Let the cleaner sit for the recommended time to loosen the dirt. Rinse the coils with water if needed, ensuring not to oversaturate them. Use a damp cloth to wipe away the cleaner and debris.
4. Vacuum the Blower and Fan
Use a vacuum with a soft brush attachment to clean the blower and fan blades. Be gentle to avoid damaging any components.
5. Clean the Drain Pan and Drain Line
Locate the drain pan under the evaporator coils and clean it with a mixture of water and mild detergent. Ensure there are no clogs in the drain line, which can be flushed with water or cleaned using a small brush or compressed air.
6. Straighten Bent Fins (Optional)
If you notice any bent fins on the evaporator coils, use a fin comb to straighten them carefully. This can improve airflow and efficiency. Wipe Down the Interior.
Wipe down any other accessible parts of the unit with a damp cloth to remove dust and grime. Avoid using excessive water.
7. Reassemble the Unit
Once all parts are clean and dry, reassemble the unit by putting the front panel or cover back in place and securing it with screws or clips.
8. Turn On the Power
Restore power to the AC unit at the main electrical panel.
How to clean ac Air Filter?
Cleaning an air conditioner (AC) filter is essential for maintaining good air quality and efficient cooling.
Here are the steps to clean your AC filter:
Turn Off the AC Unit:
- Before cleaning, turn off the air conditioner to prevent unfiltered air circulation.
Locate and Remove the Filter:
- Check your AC manual or manufacturer’s website to find the filter’s location.
- Some units have multiple filters, so inspect all vents.
- Remove the filter (it may pop out or slide out).
Vacuum the Filter:
- Use a vacuum cleaner to remove accumulated dirt, dust, and debris.
Wash the Filter:
- Rinse the filter gently under running water.
- For a deeper clean, soak it in a mixture of equal parts white vinegar and warm water for an hour.
Dry and Reinstall:
- Allow the filter to dry completely.
- Put it back in place and secure any clips if needed.
How to clean Water tank?
- Cleaning a water tank is essential to maintain clean and safe water. Here are the steps to clean a plastic water tank:
1. Draining the Water Tank:
- Open the outlet valve or tap to empty all the water from the tank. Use a bucket to scoop out any remaining water.
- If needed, use a wet/dry vacuum or towels to remove the last traces of water.
2. Cleaning the Inside of the Water Tank:
- Make a cleaning mixture by mixing hot water with laundry detergent powder or liquid.
- Scrub the inside of the tank using a bristle brush or abrasive sponge. Pay attention to corners and joints.
3. Rinse Thoroughly:
- Rinse the tank thoroughly to remove any cleaning solution residue.
4. Disinfecting the Water Tank:
- Use unscented liquid bleach (non-fiber guard) to disinfect.
- Mix bleach with water (at least two gallons) and apply it to the tank’s interior. Let it sit for a while, then rinse thoroughly.
5. Flush Hoses and Pipes:
- Flush your tank’s hoses and pipes to ensure clean water flow.
How to Clean Coils?
Cleaning coils is essential for maintaining optimal performance and efficiency.
Let’s break it down based on the type of coils you’re dealing with:
Air Conditioner Coils (AC):
- Turn off the AC power at the circuit breaker.
- Locate the coils (window units or central air units). Remove large debris by hand and dust off using a coil brush.
- Correct bent fins with a fin brush.
- Apply a mild detergent and water mix using a low-pressure sprayer.
- Rinse lightly with a garden hose.
- Refrigerator Condenser Coils:
- Remove the plastic cover from the front.
- Vacuum and use an old toothbrush to clean.
- Put everything back together.
How to Clean AC Mold?
If you suspect mold in your air conditioner, here’s how to handle it:
- Inspect: Turn off or unplug the AC unit and inspect it. Look for visible signs of mold, such as dark spots or stains on the unit’s exterior. Focus on areas prone to moisture buildup, like evaporator coils, condensation pan, drain line, and blower compartment.
- DIY Cleaning: Mix 1 cup of bleach into 1 gallon of water. Soak a cloth in this solution and wipe down the unit’s interior, especially where mold might be present. Avoid cleaning electrical components. Let the solution sit for 20 minutes before rinsing it off with clean water.
- Professional Help: For persistent mold, consider professional remediation. Moldy AC units can cause health issues and reduce efficiency. Regular maintenance helps prevent mold growth.
How to Drain the AC Storage Tank?
To drain the storage tank of your portable air conditioner, follow these steps:
- Turn Off the AC: First, turn off the air conditioner and unplug it from the power outlet.
- Locate the Drain Port: Find the draining port, which is usually located at the bottom on the back of the AC unit.
- Place a Container: Place a shallow pan or container below the lower drain to catch the water.
- Remove the Drain Plug: Take out the drain plug to allow the water to flow out completely.
- Re-insert the Drain Plug: After draining, re-insert the drain plug securely.
- Plug the AC Back In: Finally, plug the air conditioner back in and resume normal operation.
How Often Should We Clean Portable Air Conditioner?
Cleaning your portable air conditioner regularly is essential to ensure its efficient operation and longevity.
Here’s a recommended schedule and steps for maintaining different parts of your portable air conditioner:
1. Air Filter:
- Frequency: Every two weeks during heavy use, or at least once a month during moderate use.
- Reason: The air filter traps dust, dirt, and other particles, preventing them from entering the unit and the air you breathe. A clogged filter can reduce efficiency and air quality.
2. Water Tank (if applicable):
- Frequency: Every time you empty it, typically once a week.
- Reason: Regular cleaning prevents mold and mildew growth, which can occur in a damp environment.
3. Exterior Surface: Frequency: Once a month. Reason: Dust and dirt can accumulate on the exterior, which can eventually find their way inside the unit.
4. Condenser and Evaporator Coils:
- Frequency: Every season or at least twice a year.
- Reason: Clean coils ensure efficient heat exchange, maintaining the cooling performance of the unit.
5. Vents and Hose:
- Frequency: Once a month.
- Reason: Dust and debris can accumulate in the vents and hose, obstructing airflow.
Regularly portable air conditioner cleaning is crucial for maintaining its efficiency and longevity. By cleaning the air filter every two weeks, the water tank weekly, the exterior monthly, and the coils and vents seasonally, you ensure optimal performance and good air quality. Consistent maintenance prevents dust buildup, mold growth, and operational issues, keeping your portable AC unit running smoothly and effectively.